As an identity geek, something I’ve always struggled with has been user control and experience. Modern federation (such as OIDC/SAML) allows for generally coherent experiences, but it relies on user interaction with a central platform, removing control. Think of how many services you log into via your Facebook account. If Facebook was to go down, are you stuck? The same problem exists (albeit differently) with your corporate credentials.
Aside from centralisation, ask yourself, do you have a decent understanding of where your social media data is being shared? For most, I would guess the answer is no. Sure you can go and get this information, but that doesn’t show you who else has access to it. You own your identity and the associated data, but you don’t always control its use.
Finally, how many of your credentials cross that bridge into the real world? I would posit that not many do. If they are, it’s likely some form of app or website.
Enter Decentralised Identity
Thankfully, with these challenges in mind, the Decentralised Identity Foundation (DIF) has set to work. As a group, the foundation is working to develop an open, standards based ecosystem for scalable sharing and verification of identity data. At its core, the DIF has developed standards for Decentralised Identifiers (DIDs) as a solution, with varying secondary items under differing working groups. So, how does Decentralised Identity work?
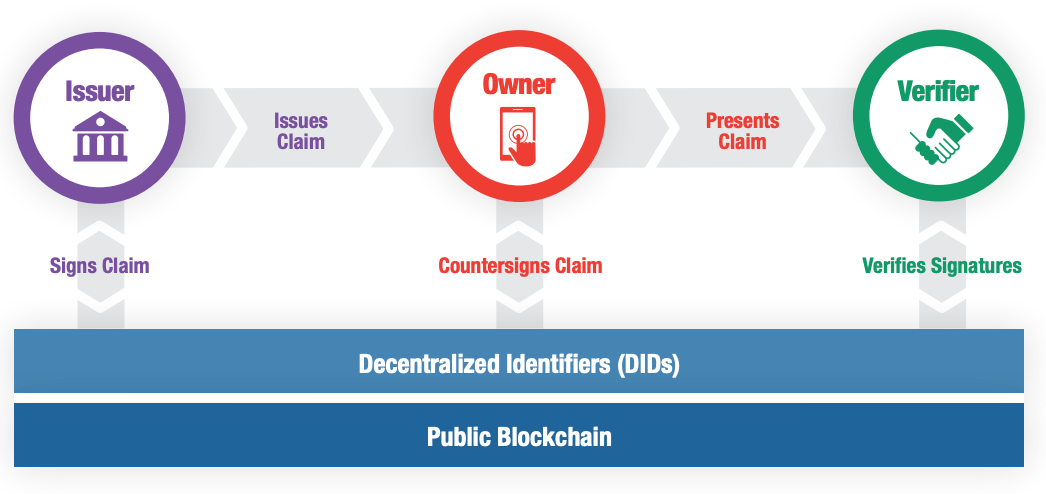
In short, it uses cryptographic protocols and blockchain ledgers to enable verifiers that validate a user claim without talking to the original issuer. The owner of each claim holds full possession of the data, and presentation of the data in question requires the owners consent.

In English Please?
A few excellent real world examples exist for where this Decentralised Identity could easily be applied. Say you (the owner) are an accredited accountant with Contoso Financial Advisors (the issuer). As a member, you are provided a paper based certificate of accreditation. On a job application, you provide this paper based record to a prospective employer (the verifier).
From here, your employer has a few options to validate your accreditation.
- You have the “accredited” paper, so you must be legit right? Without verification of your accreditation, the work you put into obtaining it is invalidated.
- Look for security features in your accreditation. This is vulnerable to fraud, with some documents not containing these features.
- They can contact Contoso to check the validity of your accreditation.This relies on Contoso actually having a service to validate credentials while still operating.
As you provide this accreditation to the employer, you also have a few concerns about the data contained within. What if they take a copy of this accreditation for another purpose? What if they also sell this information?
Combined, the current options for validation of identity ensure that;
- Any presented data is devalued, through either lack of verification or fraud,
- Data control is given away without recourse,
- A reliance is built on organisations to be permanently contactable.
DID’s work to solve these challenges in a few ways. A credential issued within the DID ecosystem is signed by both the Issuer and the owner. As this signature information is shared in a secure, public location anyone can complete a verification activity with a high degree of confidence. As only the verification data is held publicly, you (the owner) can provide data securely, with the verifier unable to pass this information onto third parties with an authentic signature.
Finally, if Contoso was to close down or be uncontactable, the use of a decentralised leger allows your employer to verify that you are who you say you are. The ledger itself has the added benefit of not requiring ongoing communication with Contoso, meaning they also benefit as they no longer have to validate requests from third parties.
Azure AD Verifiable Credentials
As a new technology, I was quite enthused to see Microsoft as member level contributor to the standards and working groups of the DIF. I was even more excited to see Microsofts DID implementation “Azure AD Verifiable credentials” announced into public preview. Although it is still a new service and the documentation is light on, I’ve been able to tinker with the Microsoft example codebase and have found the experience to be pretty slick.
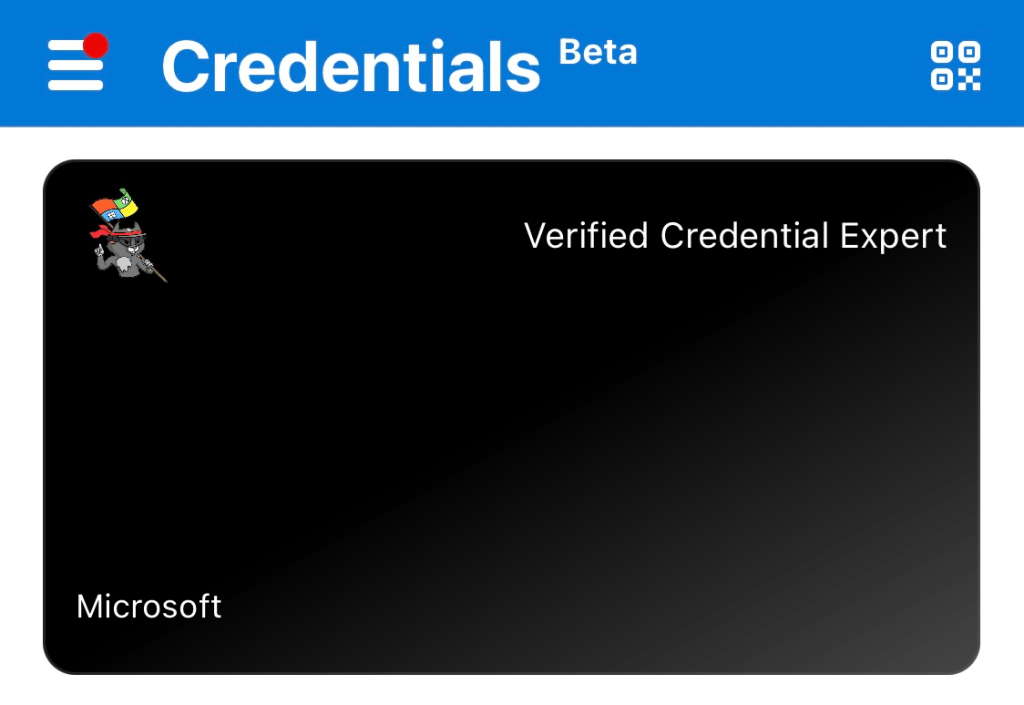
To get started yourself, pull down the code from GitHub and step through the documentation snippets. Pretty quickly, you should have a service available using ngrok and a verifiable credential issued to your device. Look at me mum, I’m a verified credential expert!
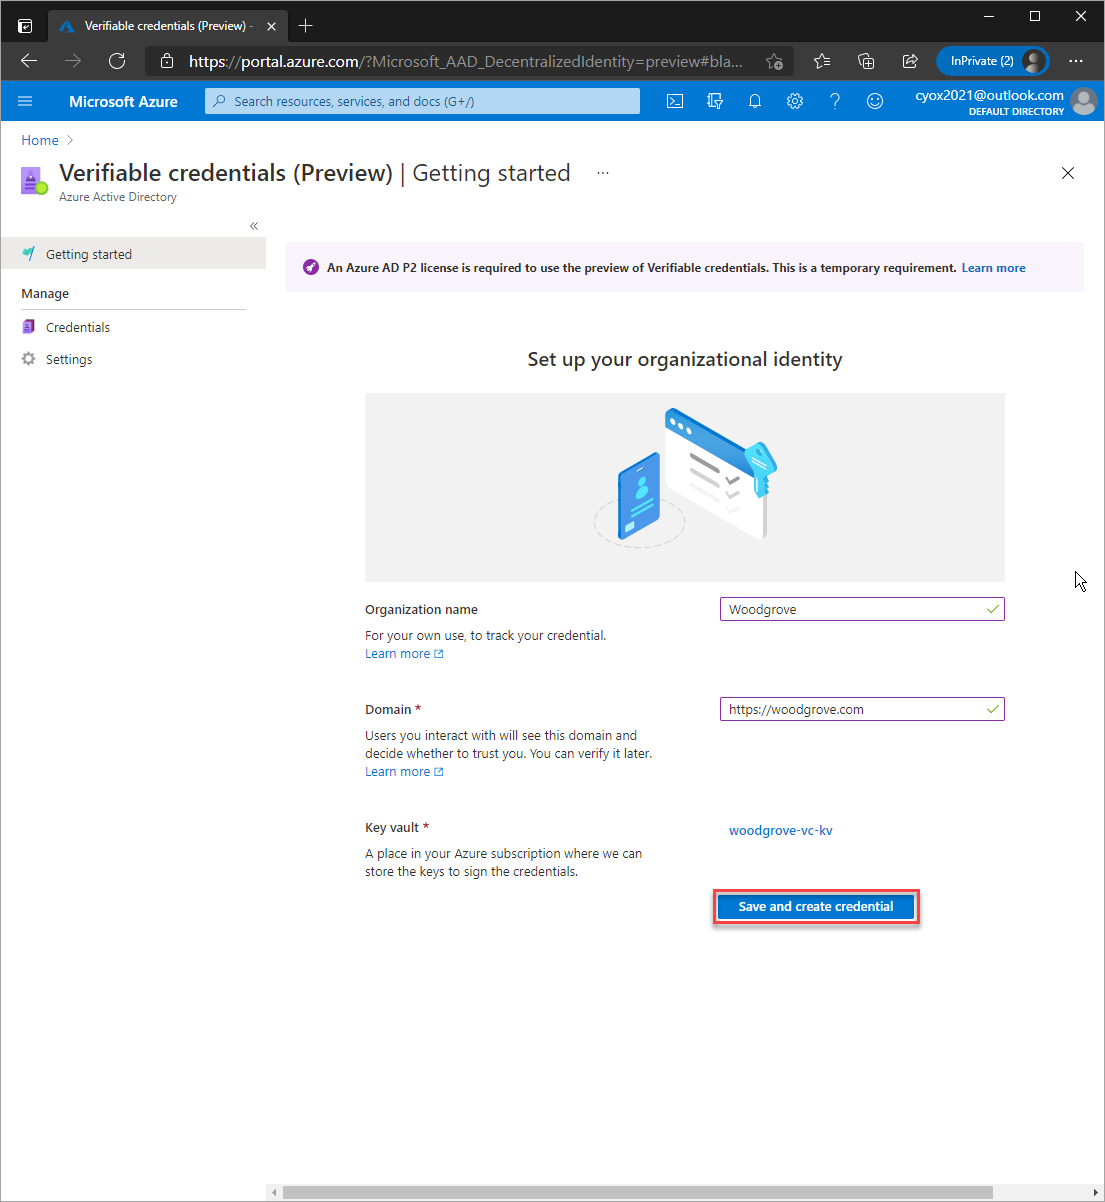
Using the example codebase, you should note that the credential issuance relies on a Microsoft managed B2C tenant. The first step for anyone considering this technology is to plumb the solution into your own AAD.
To do so, you first need to create an Azure Key Vault resource as the Microsoft VC service stores the keys used to sign each DID. When provisioning, make sure you have key create, delete and sign permissions for your account. Without this, VC activation will fail.
Next, you need to navigate through to Azure AD, then enable VC under: Security> Verifiable Credentials (Preview).
Take note, if you plan to verify your domain it must be available over https and not utilise redirects. This held up my testing as my container hit the lets-encrypt provisioning limits.
Once you have enabled your environment, you need to create a rules and a display file before activating a new credential type. These files define what your credential looks like and what must be completed to obtain one. I created a simple corporate theme matching the Arinco environment, plus a requirement to log into Azure AD. Each rule is defined within an attestations block, with the mapping for my id token copying through to attributes held by the VC. One really nice thing when testing out basic capability is that you can create an attestation which takes only user input, meaning no configuration of an external IDP or consumption of other VC is required.
My Rules File
{
  "attestations": {
    "idTokens": [
      {
        "mapping": {
          "firstName": { "claim": "given_name" },
          "lastName": { "claim": "family_name" }
        },
        "configuration": "https://login.microsoftonline.com/<MY Tenant ID>/v2.0/.well-known/openid-configuration",
        "client_id": "<MY CLIENT ID>",
        "redirect_uri": "vcclient://openid/",
        "scope": "openid profile"
      }
    ]
  },
  "validityInterval": 2592000,
  "vc": {
    "type": ["ArincoTestVC"]
  }
}
My Display File
{
  "default": {
    "locale": "en-US",
    "card": {
      "title": "Verified Employee",
      "issuedBy": " ",
      "backgroundColor": "#001A31",
      "textColor": "#FFFFFF",
      "logo": {
        "uri": "https://somestorageaccount.blob.core.windows.net/aad-vc-logos/Logo-SymbolAndText-WhiteOnTransparent-Small.png",
        "description": "Arinco Australia Logo"
      },
      "description": "This employee card is issued to employees and directors of Arinco Australia"
    },
    "consent": {
      "title": "Do you want to get your digital employee card from Arinco Demo?",
      "instructions": "Please log in with your Arinco Demo account to receive your employee card."
    },
    "claims": {
      "vc.credentialSubject.firstName": {
        "type": "String",
        "label": "First name"
      },
      "vc.credentialSubject.lastName": {
        "type": "String",
        "label": "Last name"
      }
    }
  }
}
Once you have created your files, select create new under the credentials tab within Azure AD. The process here is pretty straight forward, with a few file uploads and some next-next type clicking!
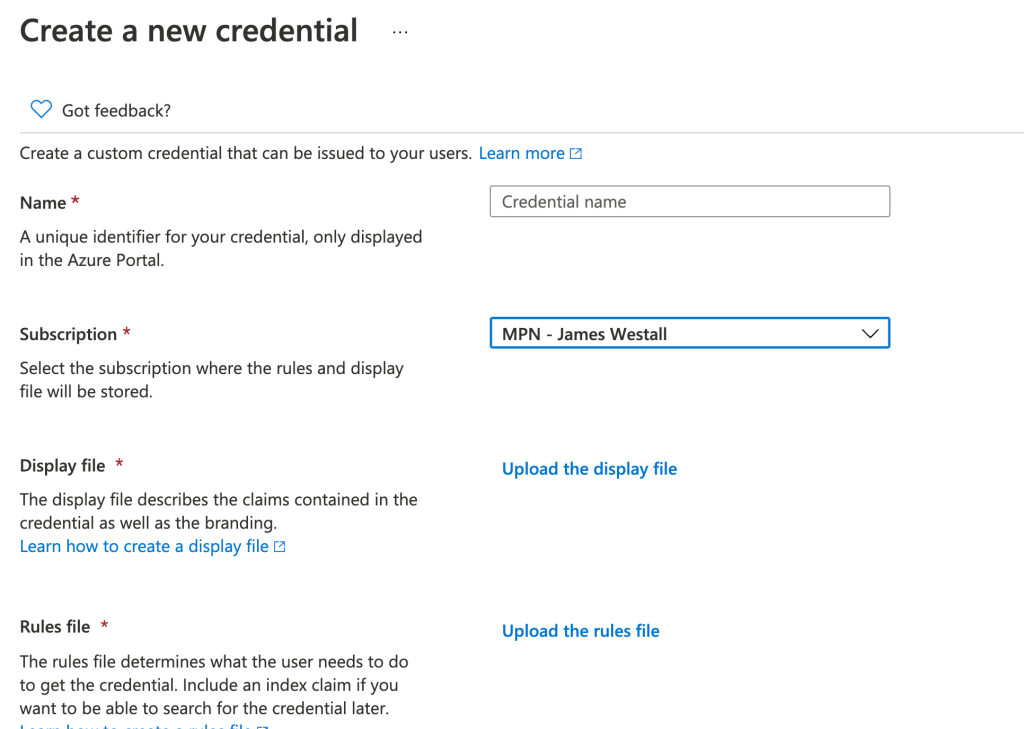
Once uploaded to Azure AD, you’re ready to build out your custom website and test VC out! The easiest way to do this is to follow the Microsoft documentation, updating the provided sample, testing functionality and then rebranding the page to suit your needs. With a bit of love, you end up with a nice site like below.
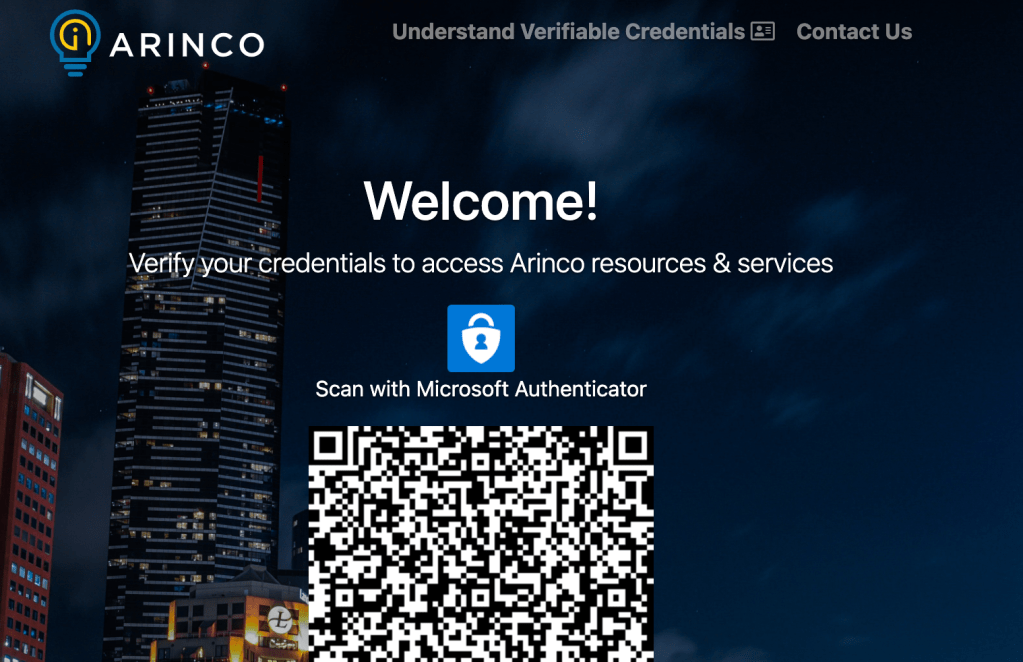
And all going well, you should be able to create your second verifiable credential.

The overall experience?
As verifiable credentials is a preview service, there’s always going to be a bit of risk associated with deployment. That being said, I found the experience to be straight forward with only a few teething issues.
One challenge I would articulate for others is while provisioning https certificates do not configure DNS for your DID well known domain. This causes authenticator to attempt to connect over https with the user experience slowed by about two to three minutes of spinning progress wheels while the application completes retries.
As for new capability, I’m really looking forward to seeing where the service goes with my primary wish list as follows:
- Some form of secondary provisioning aside from QR Codes. I personally don’t enjoy QR due to a leftover distaste from COVID-19 contact tracing in Australia. A way to distribute magic links for provisioning, or silent admin led provisioning, would be really appreciated.
- Any form of NFC support. To me, this is the final frontier to cross for digital/real world identity. Imagine if we could use VC for services such as access to buildings, local shops or even public transport.
Hopefully, you have found this article informative. Until next time, stay cloudy!
